A Deep dive
INTO EM-BROIDERY
1770s mens suit
When you want to try something new it’s best to go bold right? This project was a first for me in many ways. First time trying 18th century men’s fashion. First time working with real silk taffetta. First time embroidering a piece by hand. Why did I pick a project like this late 18th century waistcoat for my first venture into embroidery? Why not?
Just like a lot of people I found myself with quite a bit of sudden free time at hand in early 2020. So I decided to spend the first months of the pandemic jumping into a new time consuming hobby and created an embroidered waistcoat for my boyfriend. (With the added suit of course - he needed something to wear this with after all). Truth be told I just kept stumbling upon pictures of uncut embroidered vest panels from the 1700s on pinterest and thought to myself - why not do something ridicolous. So I did a few testers; see if this embroidery thing is at least a bit feasable and then I jumped in.
Before I could start my little embroidery adventure I of course needed to decide what exactly I wanted to embroider onto the future waistcoat. So I spent hours on pinterest looking for just the right kind of inspiration. In the end I decided to take a motive from an extant piece which I found in the Met Museums online collection and try to recreate it as close as possible. Said ensemble features a very fine floral motive that seemed small enough to be at least somewhat manageable for a first project like this.
I traced the pattern of the embroidery in Adobe Illustrator using the many close up pictures the Met Museum provides on their website. Having created the outline of my embroidery motive (or motives really in this case) I then placed it on the sewing pattern, which I had before drafted to my boyfriends measurements using this pattern. (Don’t worry, I did make a mockup before starting the embroidery part of this project.)
For the suit itself I picked a peach colored silk taffetta. I did decide not to stick to the colors of the reference since I didn’t quite like the beige. Also I wasn’t making a whole embroidered ensemble but just the waistcoat. The overcoat would be a burgundy wool so I wanted to pick a base color that would go nicely with that fabric.
I did however decide to embroider on silk taffetta - If I’m doing something this fance might as well go with the fancy stuff right? Also a waistcoat is just small enough to get away with spending that kind of money on fabric for the first time. For the embroidery I settled on using simple cotton embroidery twist because that was just easier available to me in various colors and frankly I had no idea what I was doing. So ordering silk embroidery yarn did’t quite seem reasonable.
All in all embroidering both panels plus the pocket flaps took me about 2-3 months.
Of course you can’t just wear an embroidered waistcoat all on it’s own, so I needed to make something to complete the outfit. Maybe I will one day embroider a matching coat and pants as well but for now I settled on making a plain, red woolen set.
For the pattern I once again turned to “becomeatailor.com” and used the guide provided there to draft the pattern pieces to my boyfriends measurements. This project was the first time for me using a method like this and I was surprised how well it worked. The mockup coat basically didn’t need any adjustments apart from shortening the sleeves.
For the coat and pants I used a quite heavy, in all honesty probably too heavy, wool garbadine. It is lined with simple black ikea cotton bomull.
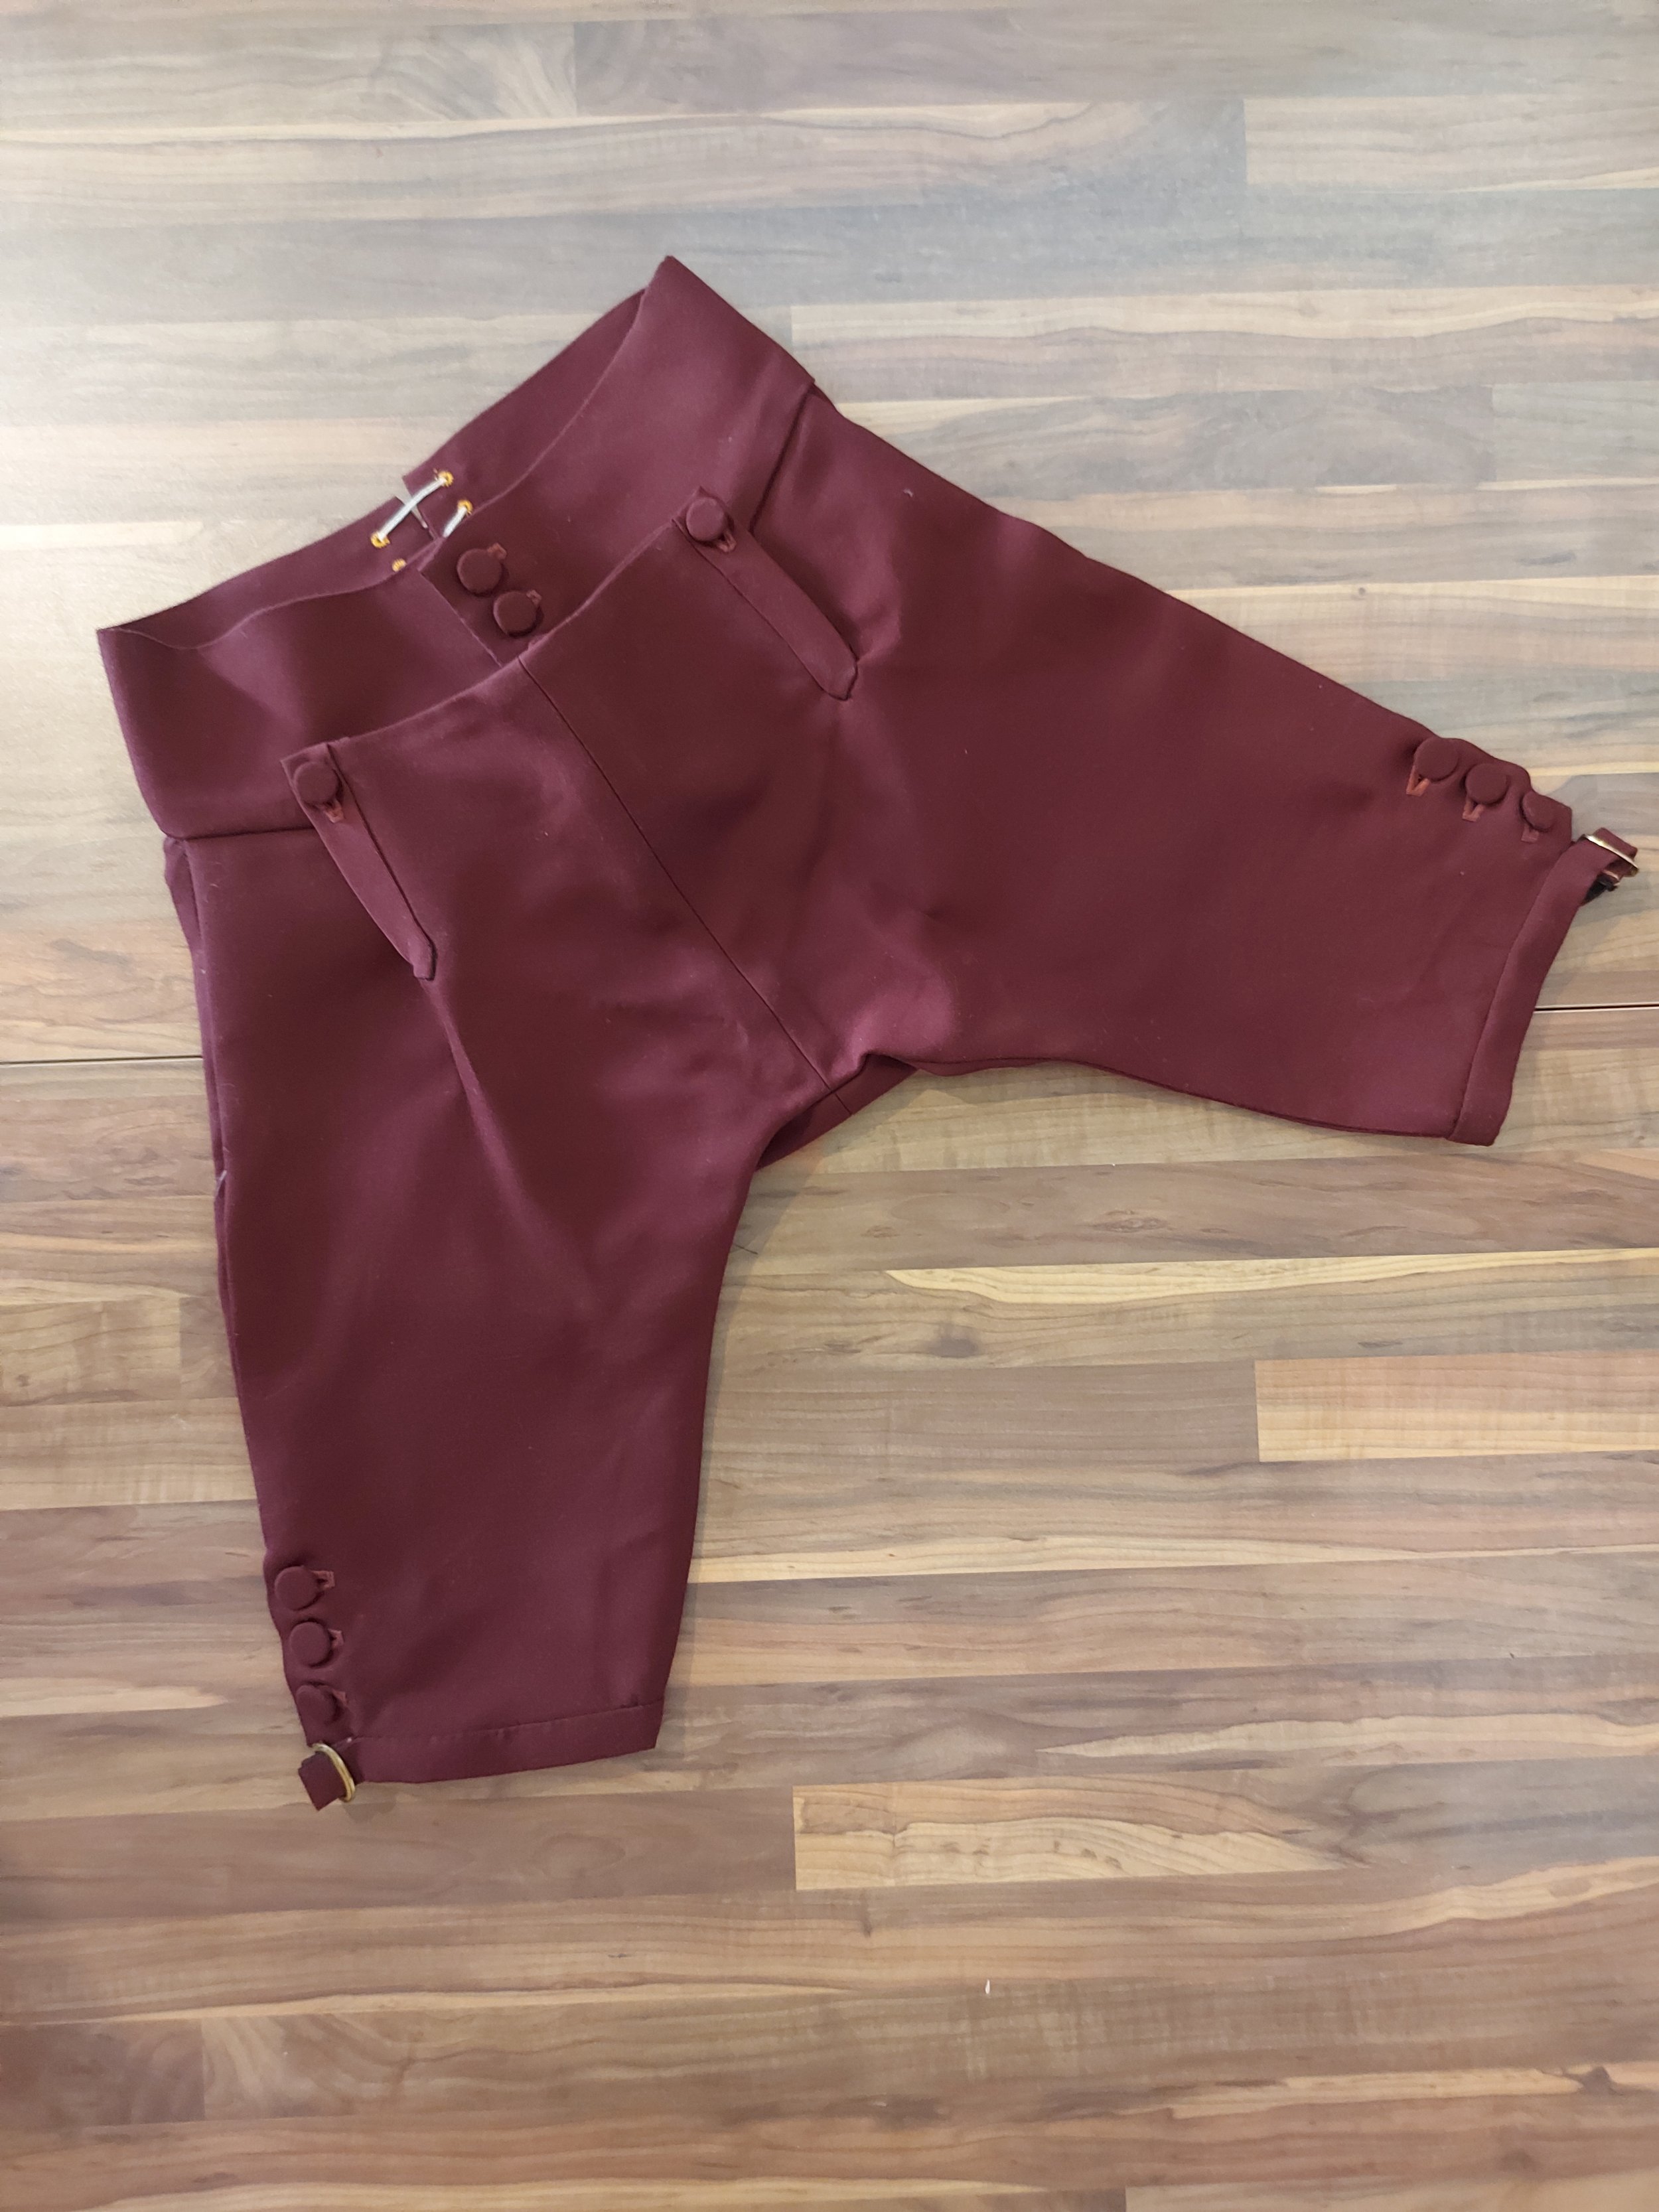
The knee-length breeches took a bit more time to figure out. I had only ever made one other pair of pants before and to this day pants-patterns still confuse me a bit. So it did take me one or two mockups more to get these to fit right. (And a helpful friend telling me that the butt of those kinds of pants is supposed to look bulky and unflattering like that. It doesn’t really matter anyway since it will be covered by the frock coat).
The breeches close in a fall front style, not like modern pants with a fly front. In order to get some matching buttons I simply covered a few similar-in-size plain buttons I had lying around my stach with the wool fabric. Finally I added some golden buckles at the hem of the legs of finish off the garment.


